Fixing Network Cables
— network cables — 4 min read

Sometimes you need a network cable of a certain length, or need to replace the end of an old cable. Making your own cable can also be far cheaper than buying one. Having the know-how (and tools) to be able to do so can be quite handy in such situations.
Last weekend, I played around with putting ends on some network cables, in preparation for fixing one in my house (which runs through the walls, so I'll only have a few chances to get that one right before I run out of cable).
I used a kit with a specialized tool, though most, if not all, of the steps can be completed with common household tools; the only specialized tool necessary is a crimping tool. This tutorial is specific to the kind of cable I was working with (T-568B straight-through), but may still be useful when working with other types of cables.
Let's get started!
Step 1: Prepare your cable
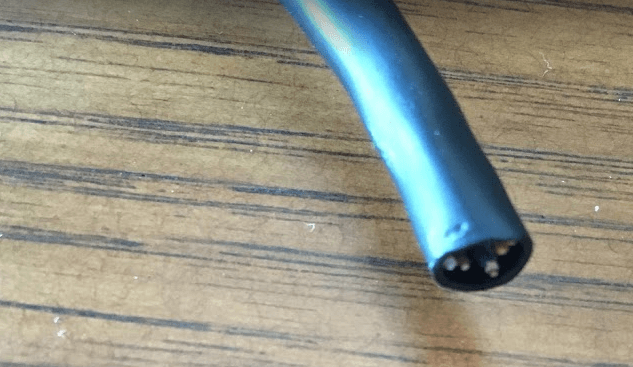
Find the cable you'd like to put an end on. If it already has an end on it that you'd like to replace, simply cut off that end to expose the interior of the cable.
Step 2: Determine which kind of cable you have
Usually, the type of your cable should be printed on the outside of it. Once you know the type of cable you have, you can look up the proper order of the wires. For example, I had a T-568B straight-through cable, so the order of my wires was orange-stripe, orange, green-stripe, blue, blue-stripe, green, brown-stripe, brown. Straight-through cables are generally used to connect from a computer to a network hub, while crossover cables are used to communicate between computers.
Step 3: Strip the cable
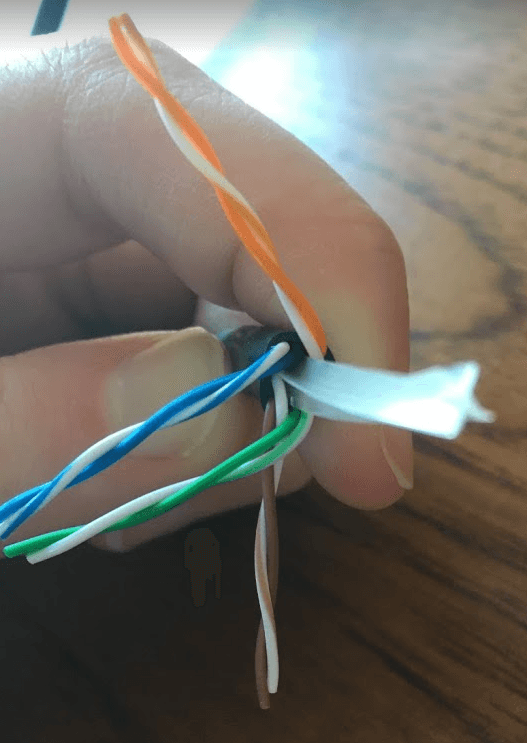
You can use a knife or specialized tool to strip the exterior of your cable away to reveal the interior wires. You should strip about an inch off the end of the cable. When you are practicing, it's a good idea to strip a bit more off. It's also important that you not strip off too little, as this may result in the wires not fitting into the connector properly.
Step 4: Cut off Separator
You'll probably find a plastic separator inside your cable, separating the four colors from one another. From what I've read, the purpose of this is to help eliminate crosstalk between the wires, as well as giving the cable a bit more shape.
You should cut off this separator as close as possible down to where you stripped your wire.
Step 5: Arrange wires in proper order
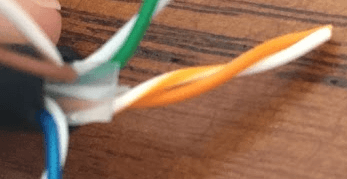
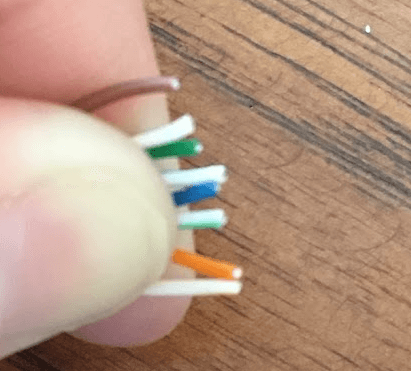
Make sure you know the correct order for your wires, and arrange yours in that order, pinching them tightly between your fingers to keep them in place. This can be tricky, and it can take a few tries. This was definitely the hardest step for me, but just be patient and you'll get it.
At this point, you may notice that the ends of your wires are uneven. If this is the case, cut a bit off the ends to even them out.
Step 6: Insert wires into connector
Next, get your connector and insert your wires firmly into it, being sure to keep them in the correct order! Again, this may take a few tries, but eventually you'll get it. When you do this, you should hold your connector clip-side down.
Below is a nice diagram from How-To Geek illustrating this:
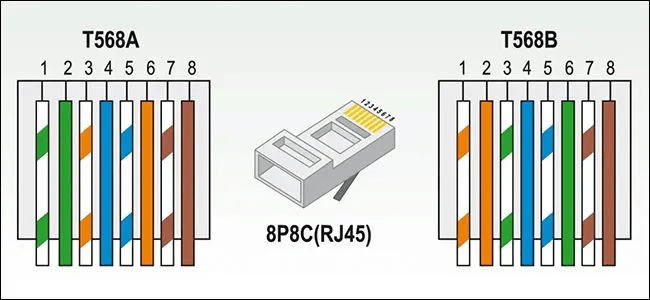
Once your wires are in the connector, verify that they have remained in the correct order; they often get a bit out of order as you insert them into the connector. If they have gotten out of order, simply pull them out, put them back in the proper order, and try again.
Step 7: Crimp end
For this last step, you will need your network cable crimping tool. Simply insert your connector into the crimping tool and squeeze. Your cable is finished!
Thanks for reading! I hope you find this and other articles here at ilyanaDev helpful! Be sure to follow me on Twitter @ilyanaDev.